

To create a Broadcast from your application instead, you can send Broadcasts
with the Broadcasts API
instead.
Quickstart
To create and send a Broadcast using the no-code editor:1
Go to the Broadcasts page in your Resend dashboard.
2
Click `Create Broadcast`.
3
Add a `from` name and address.
Choose any username at your verified domain to send your Broadcast from.We suggest you choose a
from name and address that describes the purpose of the email, for example:My Company Name <company@updates.example.com>My Newsletter <company@newsletter.example.com>.
4
Select the audience you want to send your email to.
Choose a segment of your contacts to receive the email.
5
Create a subject for your email.
6
Optionally define other email fields.
Resend’s Broadcast editor allows you to specify optional fields such as a different Reply-to address, a topic, preview text for email clients, and a scheduled time to send.
7
Write your email content.
Use
/ commands in the Broadcast editor for UI elements such as headings, lists, and images. You can also compose your body text in Markdown.8
Use the sidebar to add custom styles.
When you select an element of your Broadcast, such as text, images, or the entire page, contextual styling menu options show in the page sidebar. Choose colors, sizes, layouts, and more or add your own global CSS styles directly in the editor.
9
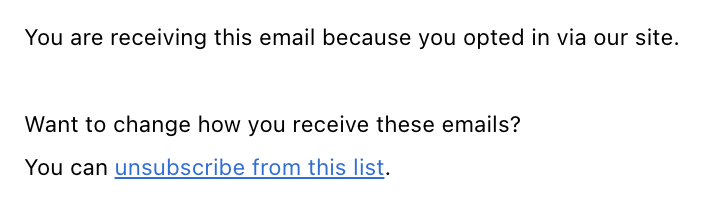
Add an unsubscribe link.
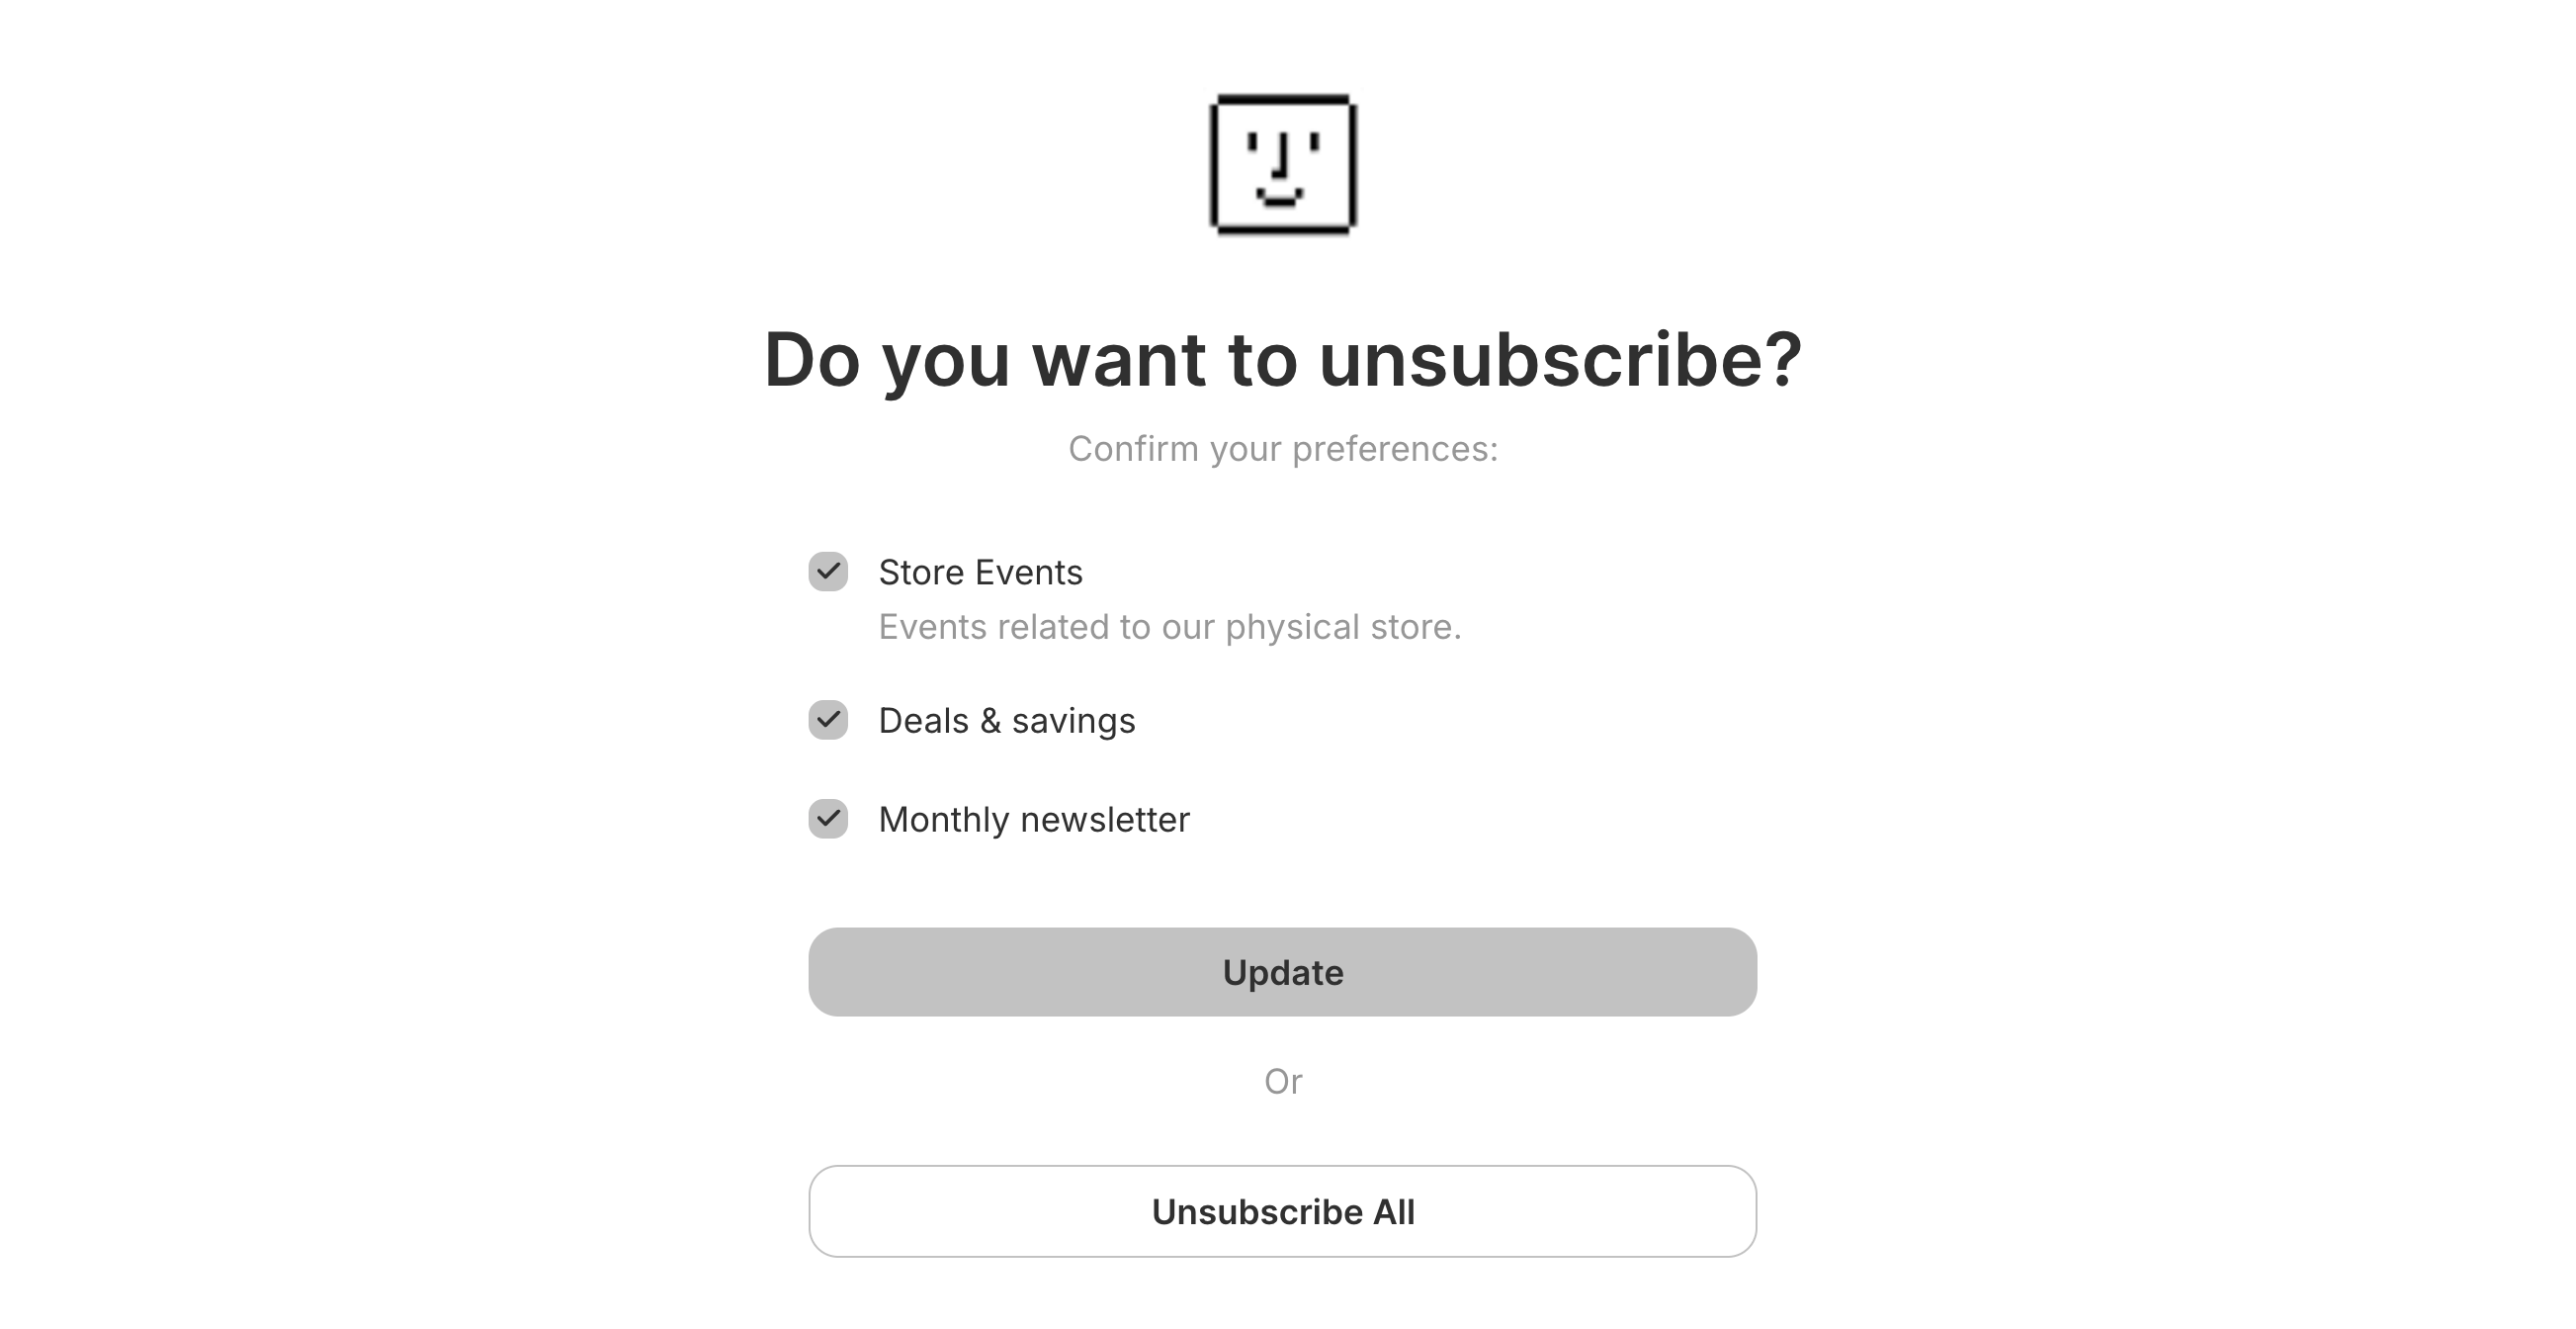
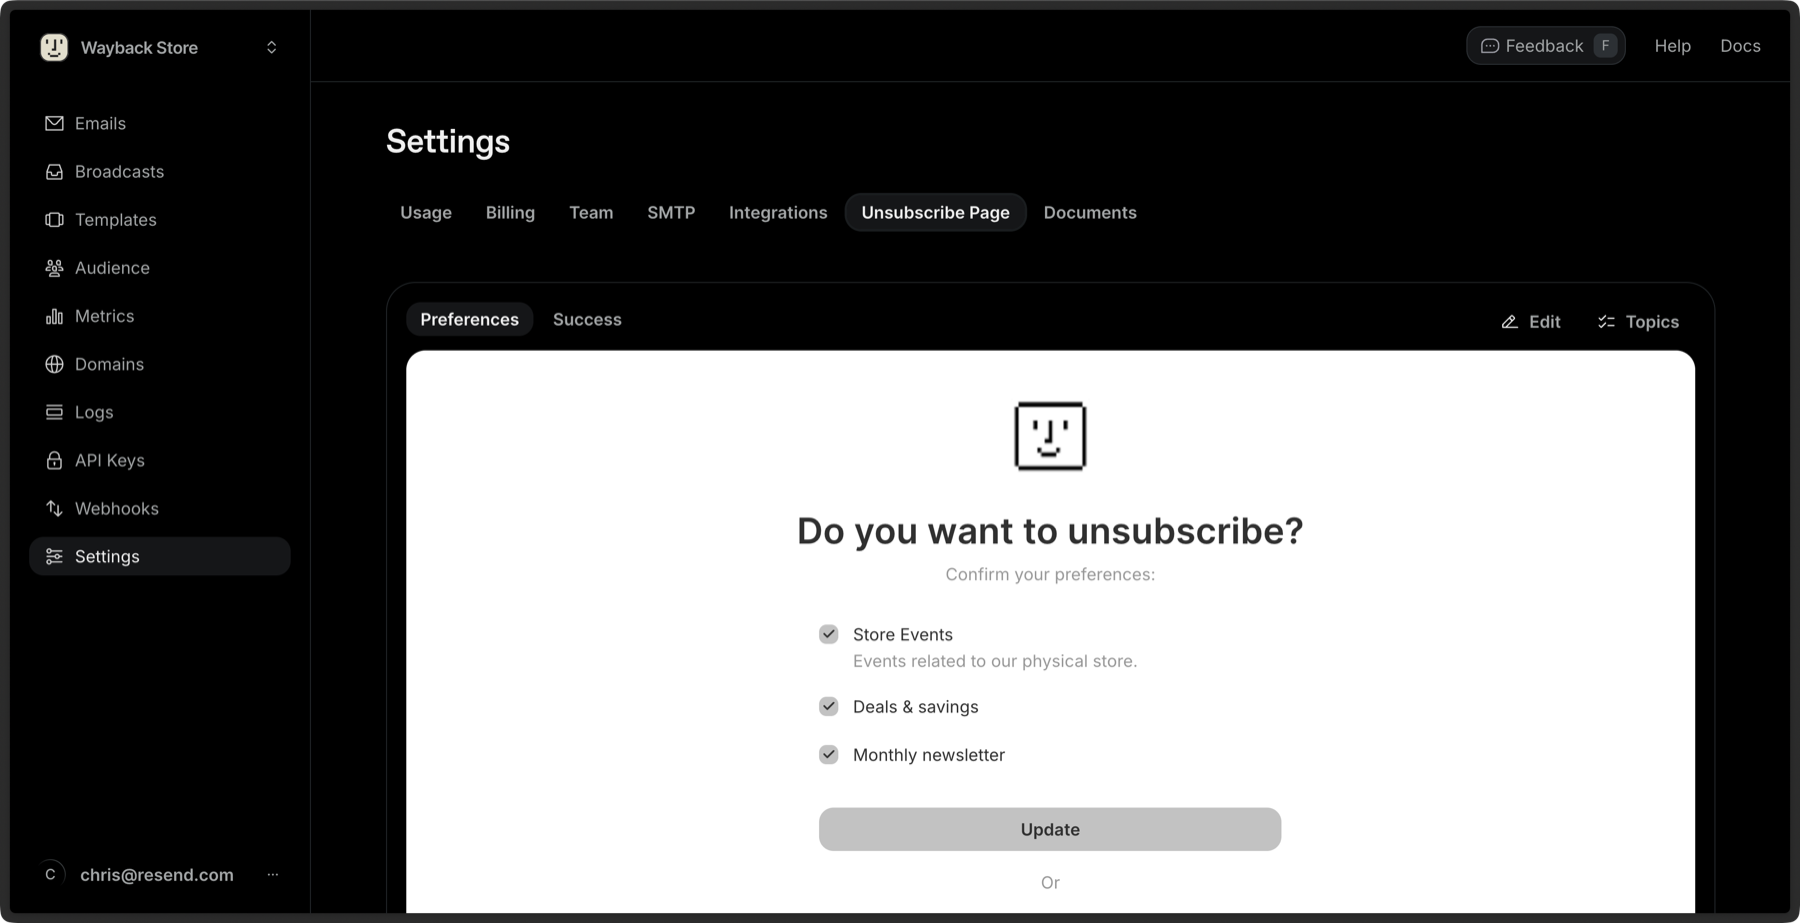
Use the Resend unsubscribe footer to allow your contacts to indicate they no longer want to receive your marketing emails.
10
Send yourself a test email.
Click
Test email and add one or more email addresses to receive your test email and preview how your Broadcast will look in your own email. If applicable, you can add test data for contact properties used in the Broadcast when sending a test email.11
Review your Broadcast.
Click Review to prompt Resend’s review feature, which checks for for any errors or concerns with your Broadcast and helps you catch common mistakes before sending.You may be forced to address some issues before you are allowed to send your email.
12
Slide to send.
When there are no errors, the “Slide to send” element will activate. Slide the arrow to confirm that you are ready to send immediately, or at the configured scheduled time.Alternatively, exit the editor to leave your Broadcast saved as a draft. It is automatically saved as you compose.
Markdown Support
You can also write your emails using Markdown headings, lists, italic, bold, links, and quotes. If you copy and paste content from other rich or plain text applications, the editor maintains formatting consistency.Custom Styling
You can customize the look and feel of your email by changing global styles such as the background color, link color, and container size, allowing you to create emails aligned with your brand identity. To do this, click on Styles at the top left of the Broadcast editor. You can edit specific images or lines of text by selecting or highlighting them prior to clicking on Styles. You can also edit individual styles for each component, including the font size, font weight, letter spacing, line height, and text alignment. You can also set custom properties for each component, such as image alt, button links, and social links. The editor additionally includes a built-in AI editor that can style and edit your content, or@ mention other Broadcasts for design or content inspiration.
Personalize your content
When creating Broadcasts, you can include dynamic audience data to personalize the email content. Add placeholders for your contact properties using the following notation:{{{contact.first_name|fallback}}}{{{contact.last_name|fallback}}}{{{contact.email}}}
Broadcast unsubscribe link
Resend generates a unique link for each recipient and each Broadcast. Use{{{RESEND_UNSUBSCRIBE_URL}}} as the link target in your footer to send readers to your unsubscribe page.
Testing & Sending
Once you’re finished writing your email, preview it in your personal inbox or send it to your team for feedback. To do this, click on Test Email on the top right of your screen. Enter in the email address you’d like to send your email to, and then click on Send Test Email to complete. Once you’re ready to send your email to your Audience, click on Send, and slide to confirm.Test emails do not include any custom Reply-To address. This behavior is
limited to test mode and does not affect actual email sends.